
Need a simple and inexpensive way to organize shoes? This easy DIY shoe rack is built entirely from 2×2 lumber and can be made with just one 8-foot board.
The compact, open design keeps everyday shoes visible, easy to reach and off the floor. Shoes rest on the two upper rails, while the open space underneath creates another row of storage without requiring a second shelf.
This one-board shoe rack is a great beginner woodworking project with simple cuts, basic construction and very little lumber. Follow the free step-by-step plans below to build your own.
Why We Love This One-Board Shoe Rack
This simple shoe rack gives you useful storage without requiring expensive lumber, complicated cuts or specialized hardware. It is quick to build and easy to customize for an entryway, mudroom, bedroom or closet.
- Built from one inexpensive 8-foot 2×2 board
- Beginner-friendly design with straight cuts
- Creates two rows of practical shoe storage
- Compact enough for a closet or small entryway
- Easy to shorten or lengthen for your space
- Can be finished with paint, stain or clear sealer
- Uses very little floor space
- Easy to build again if you need more storage

How This Simple Shoe Rack Doubles Your Storage
Instead of using a solid shelf, this shoe rack has two parallel 2×2 rails that support shoes across the top. The raised design leaves the floor underneath completely open for a second row of low-profile shoes.
You get two levels of shoe storage from one small rack without adding another shelf or purchasing more lumber. The open construction also allows airflow and prevents dirt and moisture from collecting on a solid surface.
How I Built This Shoe Rack from One Board
I wanted a shoe rack that was inexpensive, quick to build and easy to customize. This design uses one 8-foot 2×2 board cut into two long shoe supports, two feet and four short legs.
The build is simple: cut the pieces, assemble two matching ends and connect them with the long rails.
1. Cut the 2×2 Board
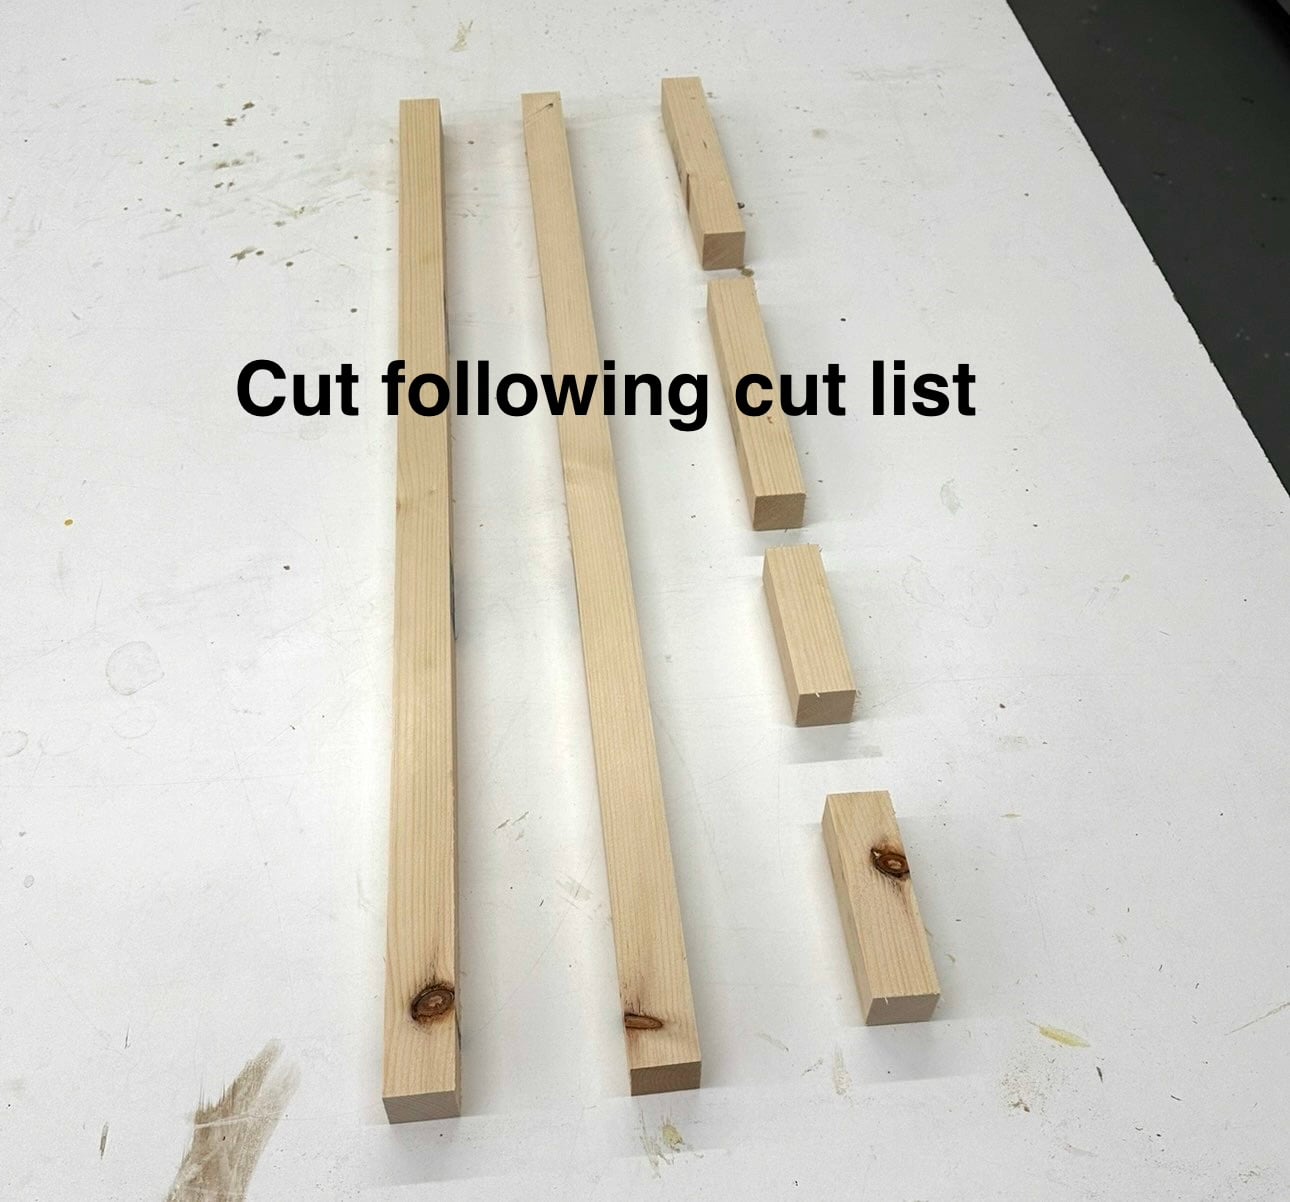
I started by cutting all the pieces from one 8-foot 2×2 board. There are only three different cut lengths, so cutting the lumber goes quickly.
After making the cuts, I sanded every piece before assembly. It is much easier to smooth all four sides of the boards while they are still separate.
2. Build the Two Ends
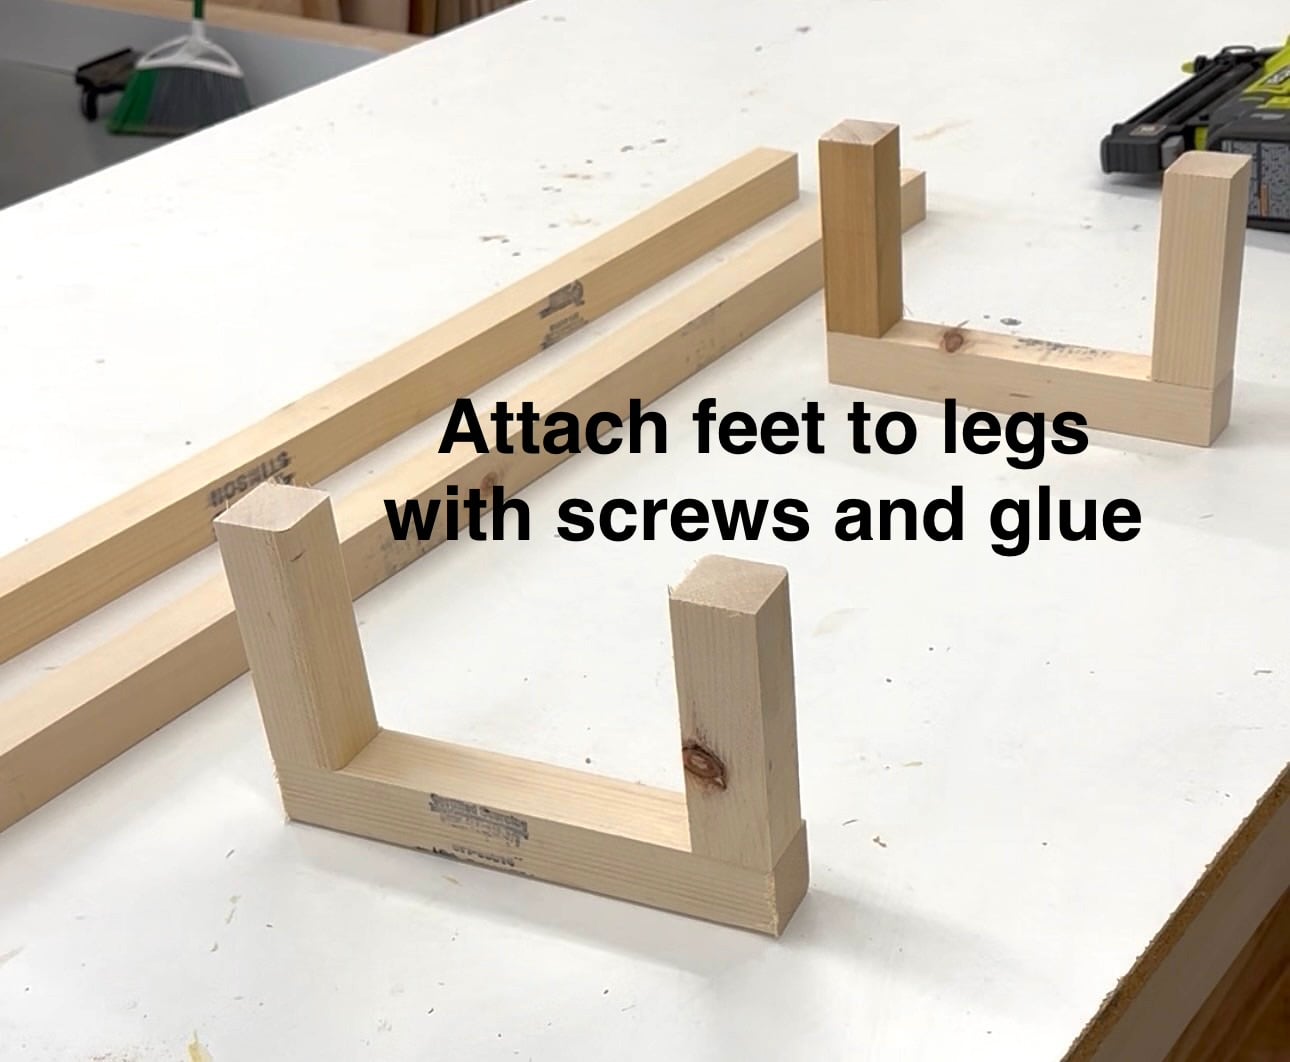
Next, I attached two short legs to each foot with wood glue and screws. This creates two matching U-shaped end assemblies.
Make sure the legs are square to the feet and that both ends match. Building the two ends together makes it easier to keep the completed shoe rack level.
3. Attach the Long Shoe Supports
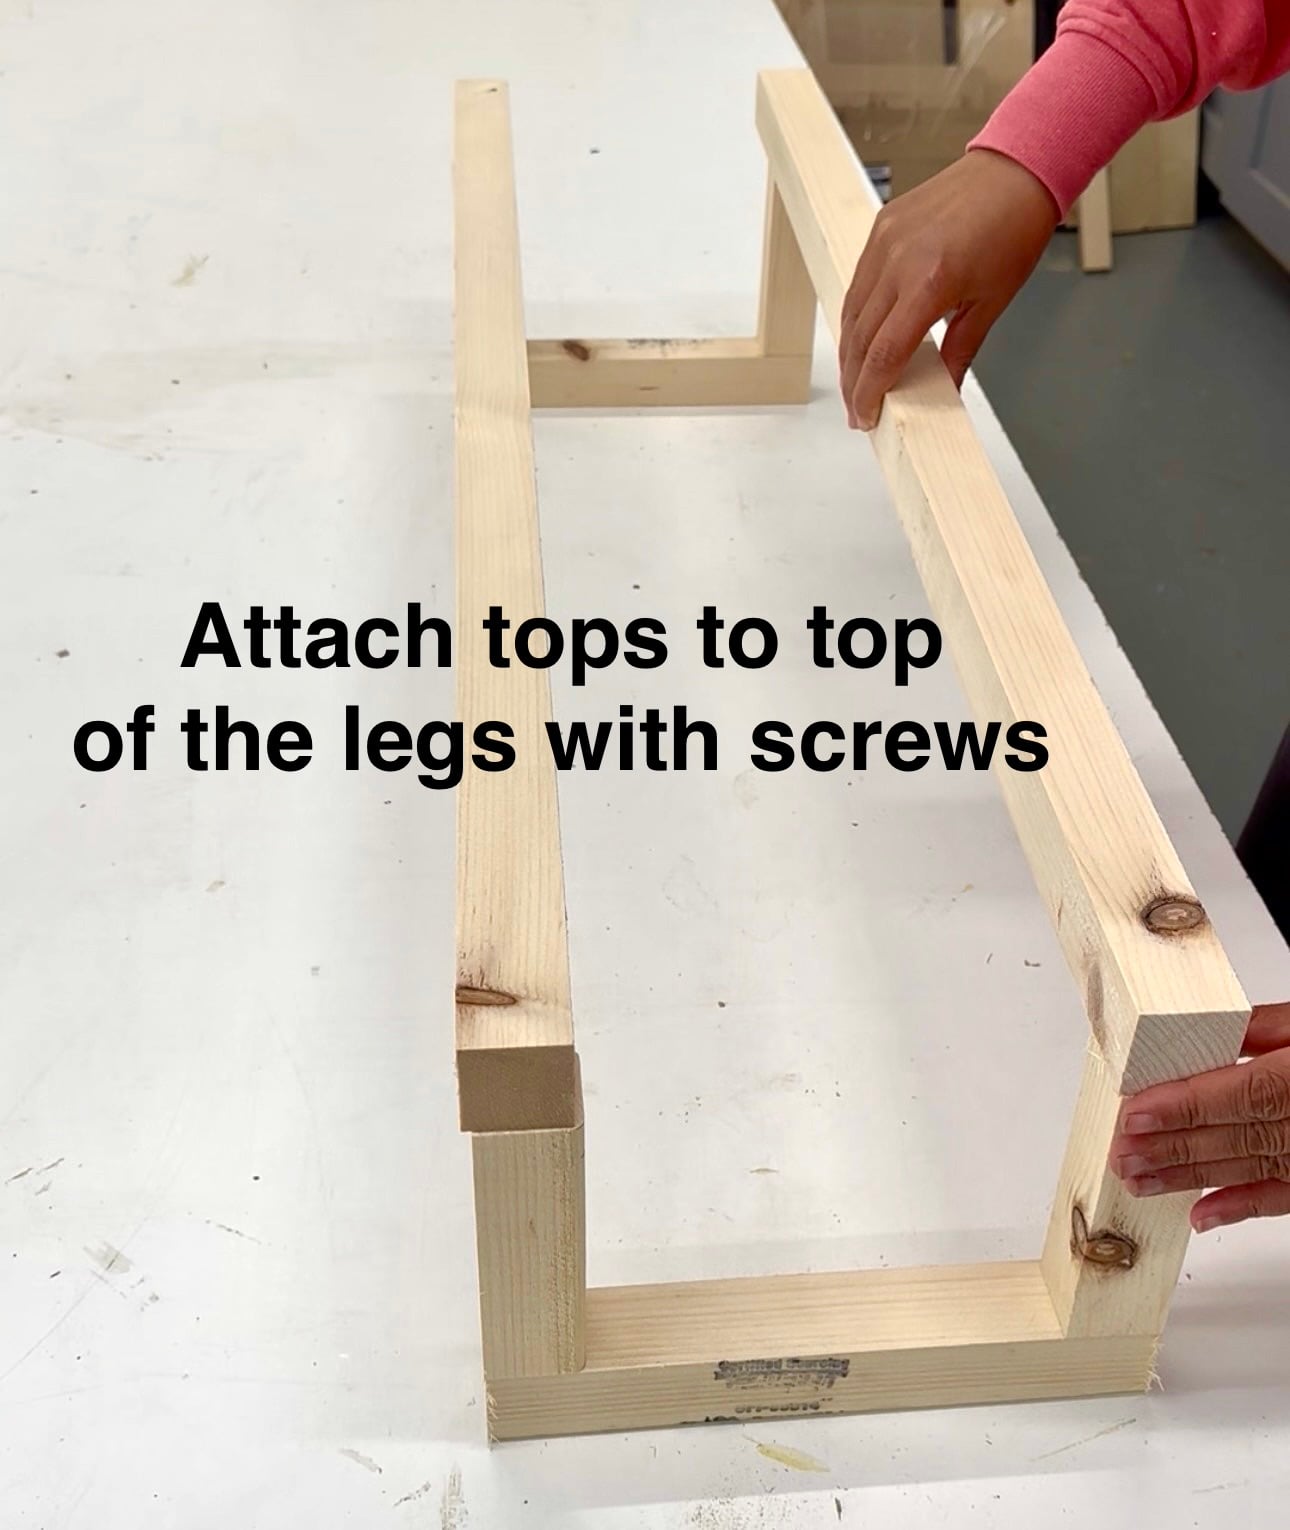
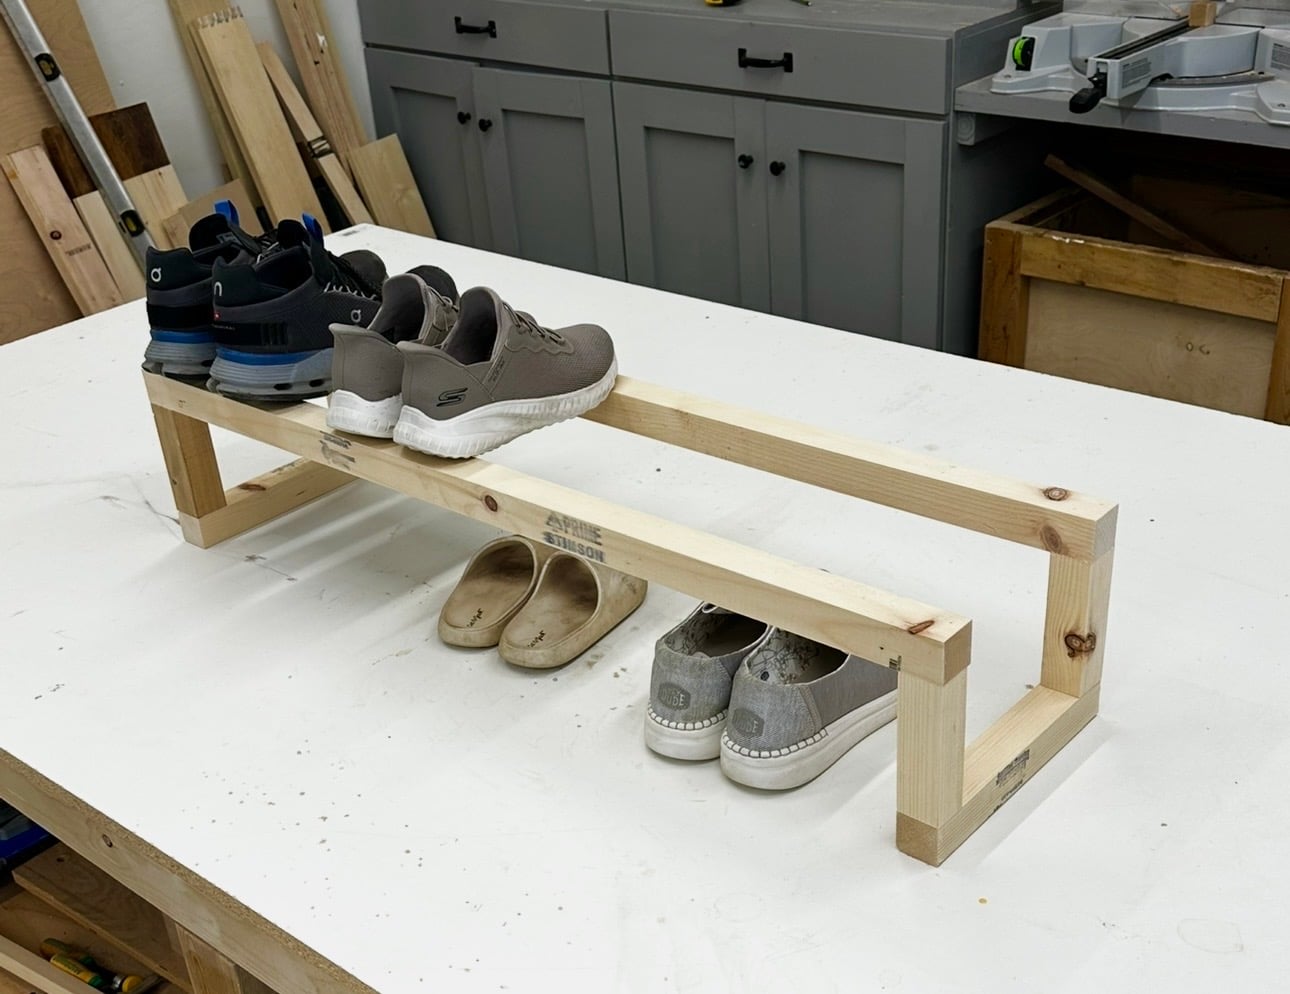
I placed the two long 2×2 boards on top of the legs and attached them with screws. These parallel rails create the upper surface that supports the shoes.
Before fully tightening the screws, check that the shoe rack is square. The two rails should be level, evenly spaced and flush with the outside faces of the legs.
4. Complete the Assembly
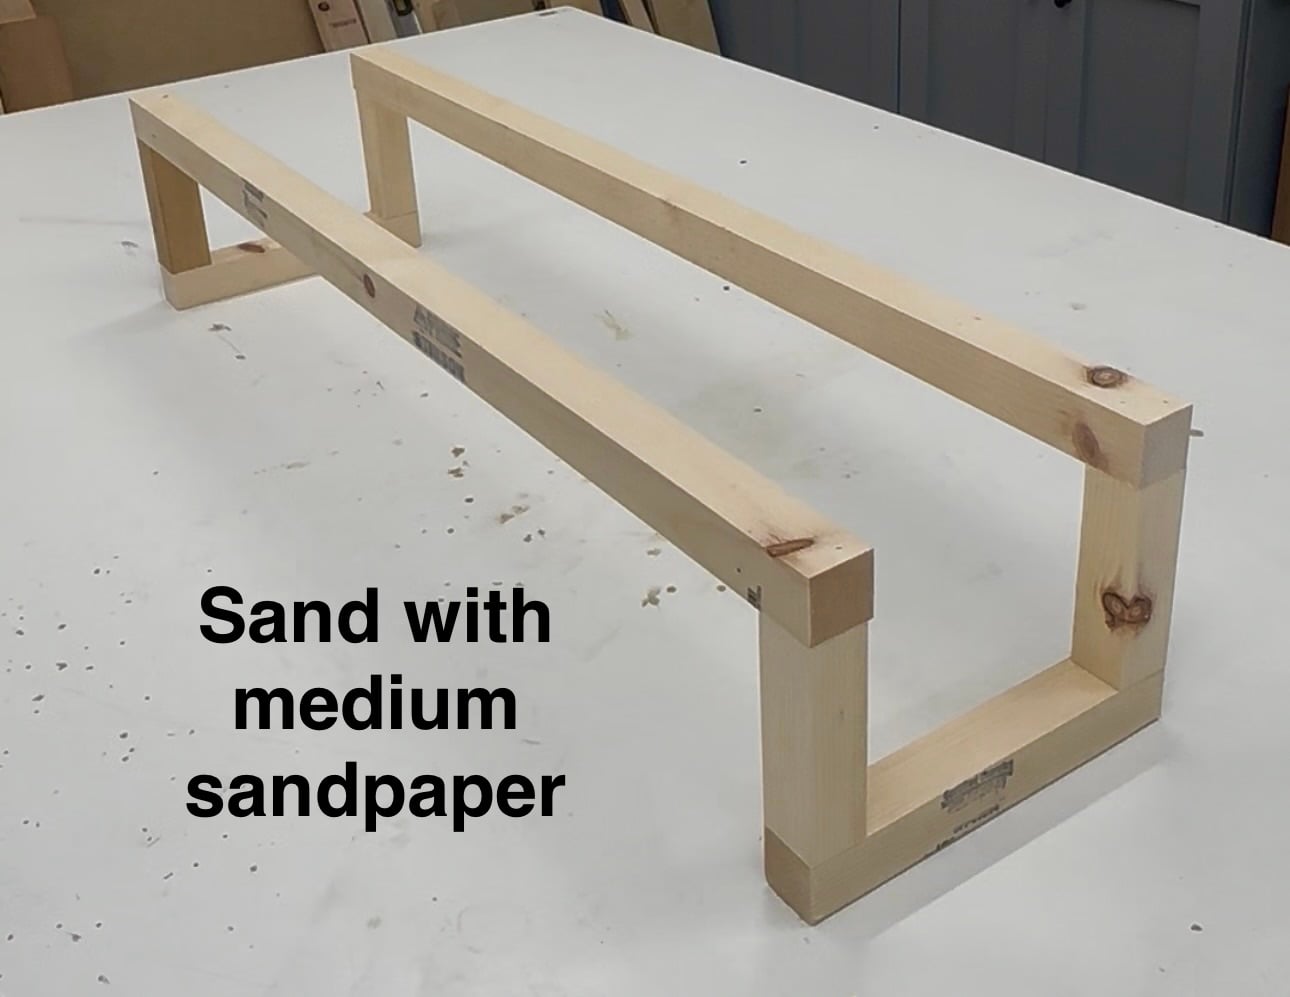
That is the entire build—two end assemblies connected by two long rails. With only a few pieces and basic joints, this is an approachable project for a beginning woodworker.
Set the completed rack on a flat surface and check for rocking. Make any small adjustments before applying the finish.
5. Add the Shoes
The shoes rest across the two upper rails, while smaller shoes fit underneath. This gives the simple rack two rows of storage without adding another wooden shelf.
6. Sand and Finish
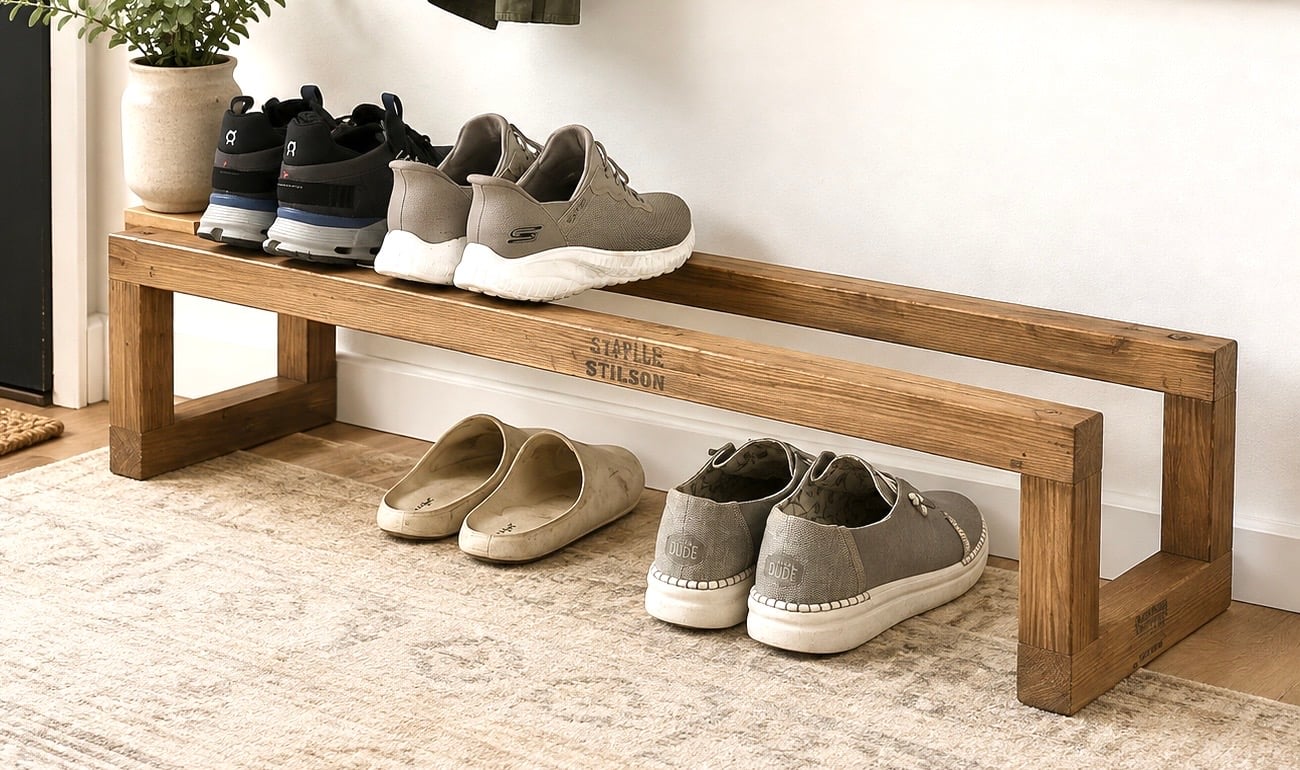
I finished this shoe rack with wood stain for a warm, natural appearance. You could also paint it to coordinate with your entryway or apply a clear finish to protect the natural wood.
Since shoes may be wet or dirty, a protective topcoat will make the rack easier to wipe clean and help the finish last longer.
Where to Use This DIY Shoe Rack
The low-profile design makes this shoe organizer useful in spaces where a large cabinet or storage bench would feel too bulky.
- Entryway: Keep frequently worn shoes close to the door.
- Mudroom: Give everyday footwear a dedicated place off the floor.
- Closet: Place the rack below hanging clothes or an existing shelf.
- Bedroom: Organize shoes without taking up much floor space.
- Garage: Store work shoes, sneakers or outdoor footwear.
Customize the Shoe Rack for Your Space
The plans use 29-1/2-inch-long rails, but the width is easy to change. Shorten both rails for a narrow closet or lengthen them to hold additional pairs of shoes.
If you change the width, cut both long rails to exactly the same length. The feet and legs can remain the same size.
For a much longer shoe rack, add another pair of legs near the center to support the rails and prevent sagging under heavier footwear.
Need Even More Shoe Storage?
Because this rack uses so little lumber, it is easy to build more than one. Arrange matching racks side by side to create a longer row of storage.
The racks can also be stacked carefully if they are built to identical dimensions. When stacking, fasten the units together and secure the completed organizer to the wall to prevent shifting or tipping.
Free One-Board Shoe Rack Plans
This easy DIY shoe rack is inexpensive, customizable and useful in almost any home. Follow the free plans below to build your own from one 8-foot 2×2 board.