Need more shoe storage without adding a bulky cabinet? This simple double shoe rack is built entirely from inexpensive 2×2 boards and provides three open rows for everyday footwear.
Two raised shelves hold shoes across the rails, while the open space underneath creates a third row of storage on the floor. The narrow design is a practical choice for an entryway, mudroom, bedroom or closet.
This is an easy beginner woodworking project with straight cuts, simple construction and customizable dimensions. Follow the free step-by-step plans below to build your own.
Looking for a smaller option? Start with our single-level 2×2 shoe rack. It uses just one 8-foot 2×2 board and creates two rows of shoe storage. This double version adds another shelf for even more capacity.
Why We Love This Double Shoe Rack
This easy DIY shoe rack makes good use of vertical space without taking up much room on the floor. The open rails keep shoes visible and easy to grab, and the lightweight frame is less bulky than a traditional shoe cabinet.
- Built entirely from common 2×2 lumber
- Uses two inexpensive 8-foot boards
- Provides three rows of practical shoe storage
- Beginner-friendly design with straight cuts
- Easy to customize for your available space
- Works well in closets, entryways and mudrooms
- Can be assembled with screws or pocket holes
- Easy to finish with paint, stain or clear sealer
Three Rows of Storage in a Small Footprint
The double shoe rack has two pairs of horizontal rails. Shoes rest across the upper and middle rails, while a third row of footwear fits on the floor underneath.
This open design increases storage without requiring solid shelves or additional lumber. It also allows airflow around the shoes and lets dirt or moisture fall through instead of collecting on a shelf.
The finished rack is approximately 29 inches wide, making it large enough to organize several pairs of everyday shoes while remaining compact enough for smaller spaces.
How I Built This Double 2×2 Shoe Rack
I wanted to create a larger version of the single 2×2 shoe rack without making the project much more complicated.
This double version uses the same straightforward construction but adds taller legs and a second pair of shoe rails. The entire project can be cut from two 8-foot 2×2 boards.
1. Cut the 2×2 Boards
I started by cutting the upper rails, middle rails, legs and feet according to the cut list.
Make the longest cuts first to ensure all the pieces fit on the two 8-foot boards. After cutting, sand each piece before assembly. It is much easier to smooth all four sides while the boards are still separate.
2. Attach the Legs to the Feet
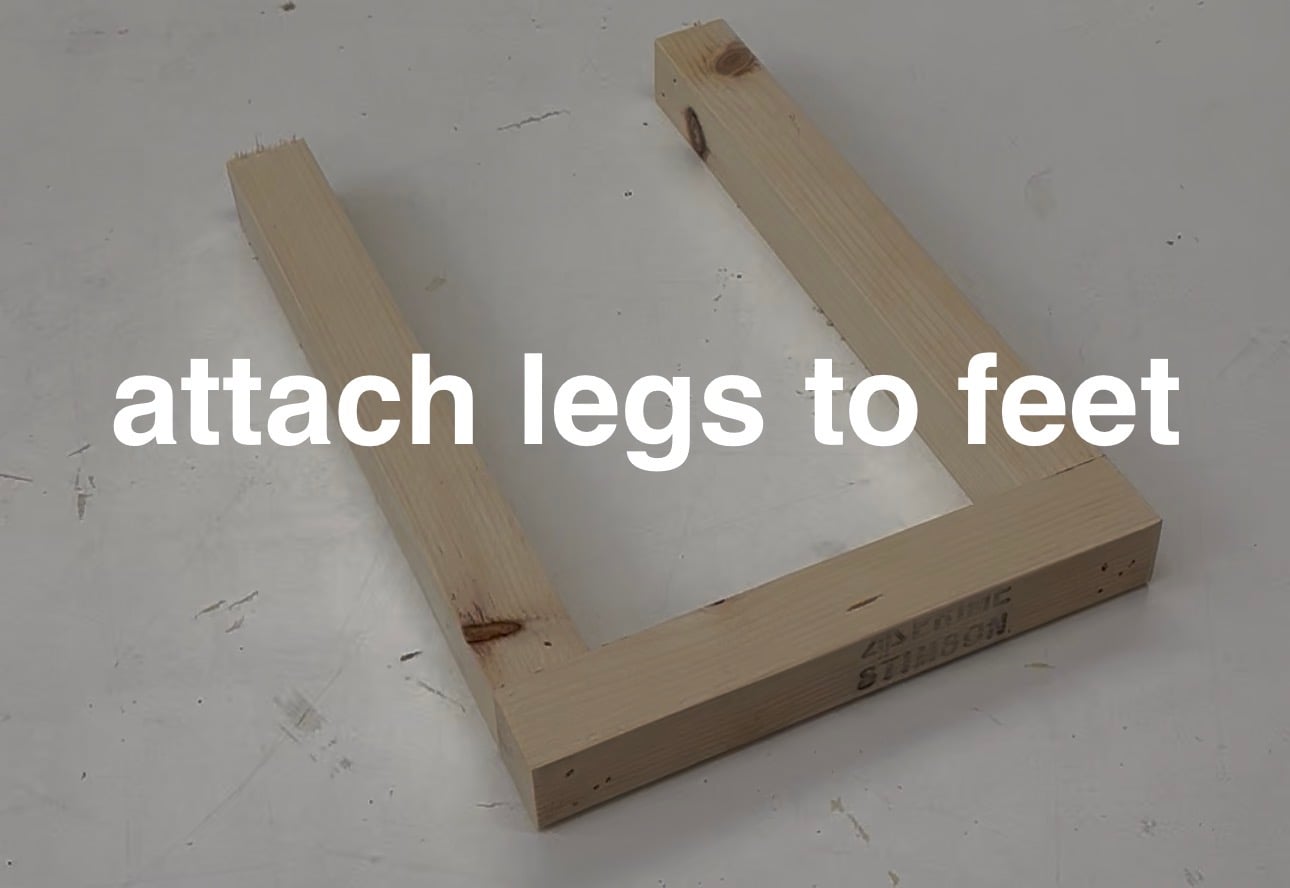
Next, I attached two legs to each 8-inch foot with wood glue and screws. This creates two matching U-shaped end assemblies.
Make sure the legs are square to the feet and that both ends match. Building the two ends together makes it easier to keep the completed shoe rack level.
If you are using pocket holes, orient them toward the back so they will be less visible when the shoe rack is finished.
3. Attach the Upper Shoe Rails
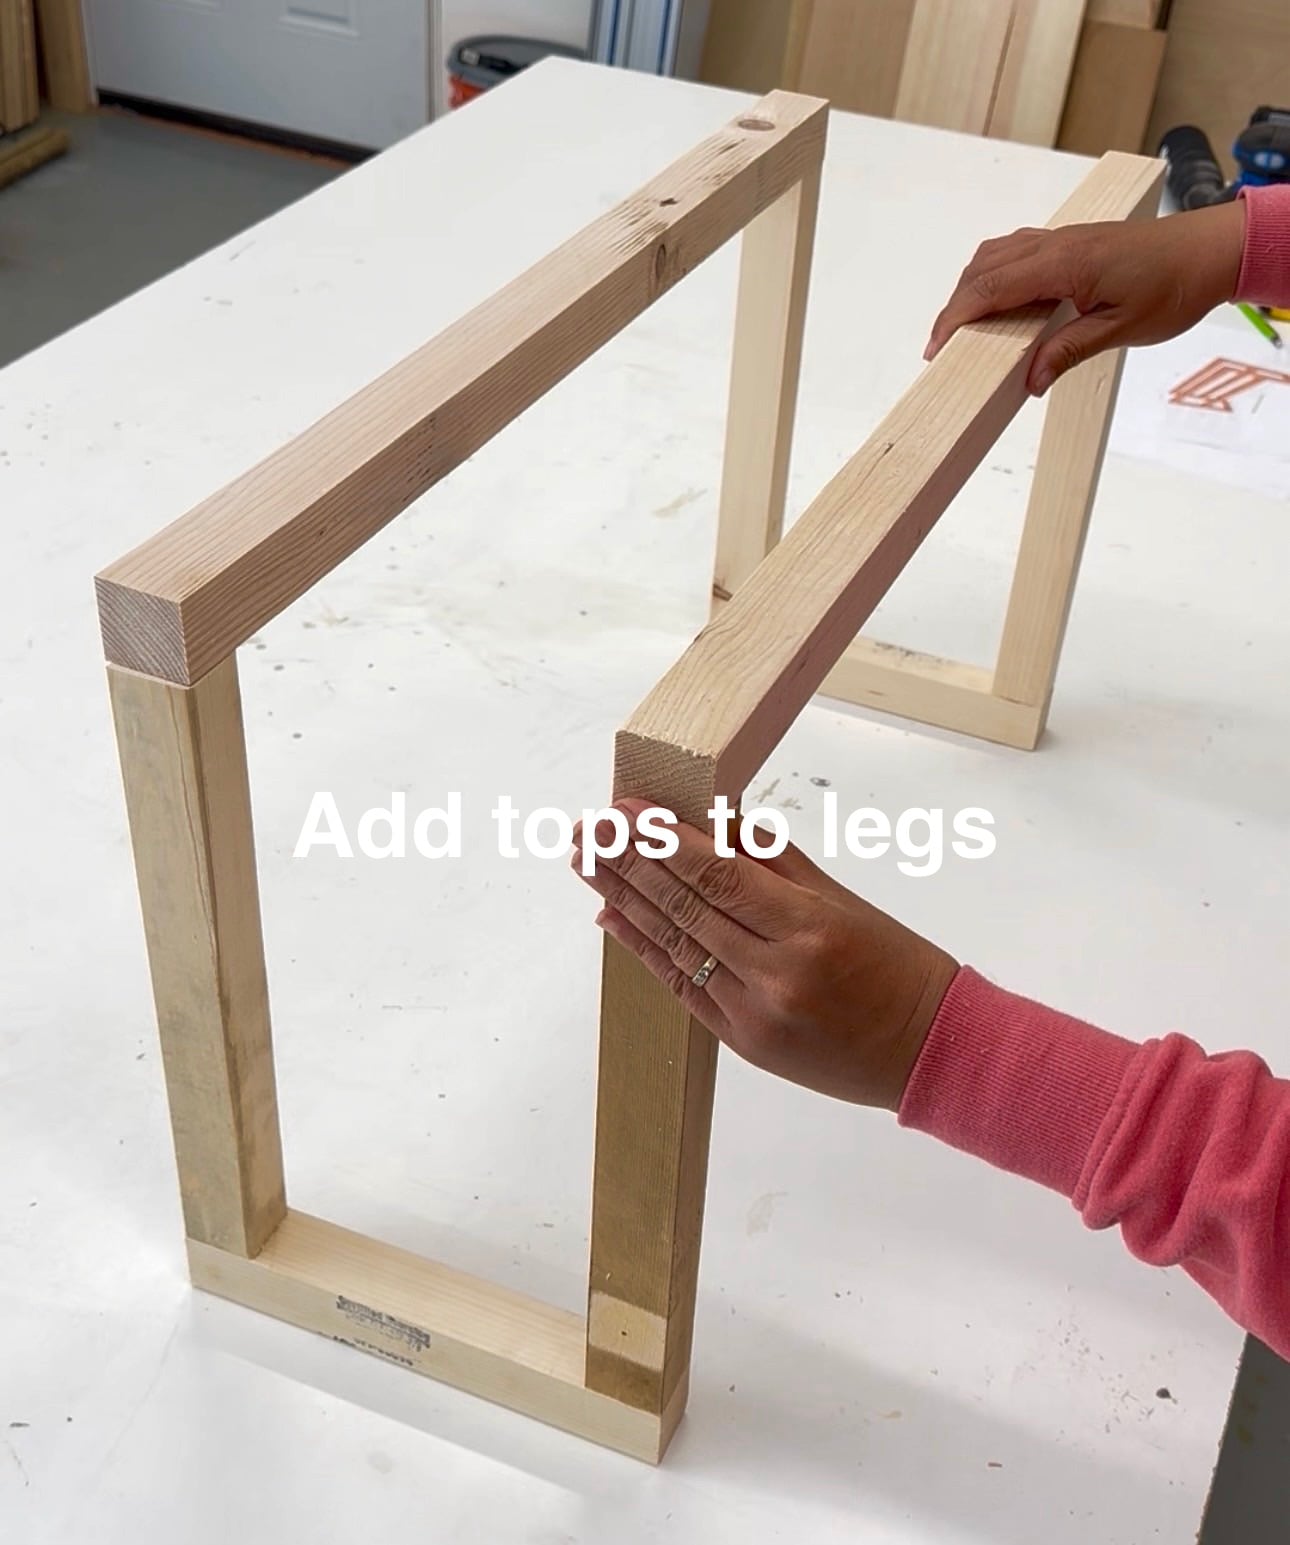
I connected the two end assemblies with the 29-inch upper rails. The rails sit on top of the legs and create the highest level of shoe storage.
Use wood glue at each joint and attach the rails with screws. Check that both rails are level, parallel and flush with the outside faces of the legs.
Check the entire frame for square before fully tightening the screws.
4. Add the Middle Shoe Rails
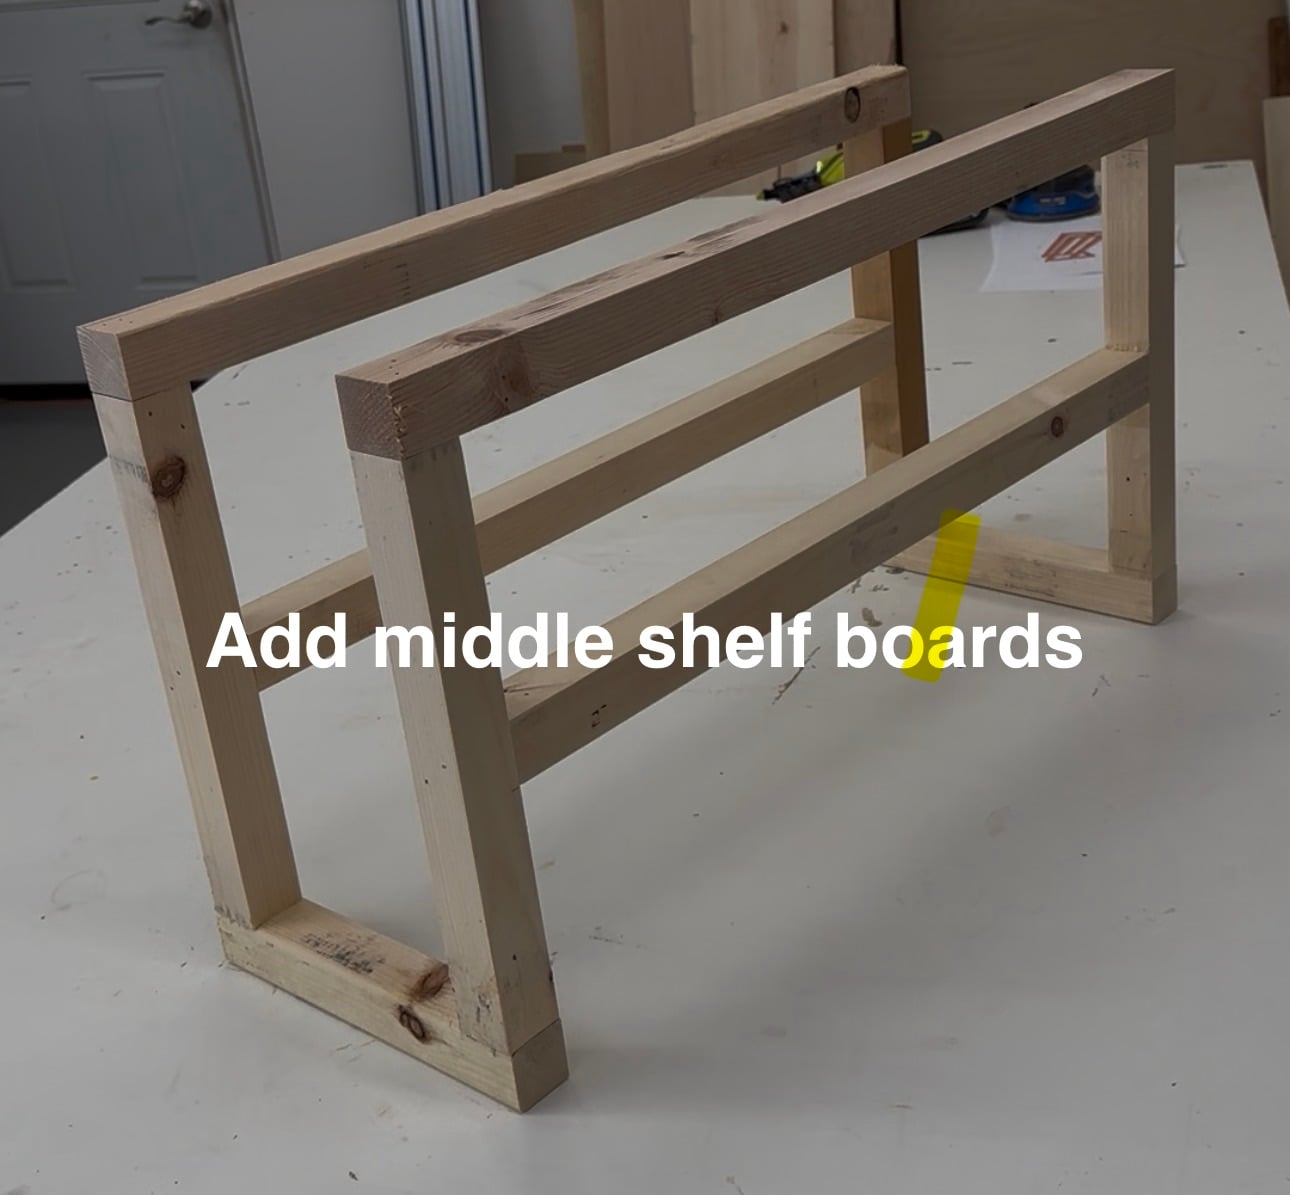
Finally, I installed the two shorter rails between the legs to create the middle level of shoe storage.
Position both rails at the same height and check that they are level before attaching them. If you are using pocket holes, place them on the bottom of the rails so they are hidden from normal view.
Once the middle rails are secure, place the rack on a flat surface and check for rocking. Make any small adjustments before filling the holes, sanding and applying the finish.